How to measure for handlebars – Measuring for handlebars is a crucial step in achieving the perfect fit on your bike. By determining your riding position, arm length, and handlebar width, you can ensure a comfortable and efficient ride. This comprehensive guide will walk you through the essential steps and considerations to find the ideal handlebars for your specific needs.
Determine Your Riding Position
Finding the optimal riding position is crucial for both comfort and efficiency. The saddle height, reach, and handlebar height all play vital roles in determining how well you fit on your bike.
The saddle height should be adjusted so that your leg is slightly bent at the knee when the pedal is at its lowest point. This will allow you to pedal efficiently without putting undue stress on your knees.
The reach is the distance from the saddle to the handlebars. It should be long enough so that you can comfortably reach the handlebars without having to stretch too far. If the reach is too short, you will be hunched over the handlebars, which can lead to neck and back pain.
The handlebar height should be adjusted so that your arms are slightly bent at the elbows when you are in the riding position. This will help to distribute your weight evenly across your hands and shoulders, reducing the risk of fatigue.
Saddle Height
To determine the correct saddle height, sit on the bike with your feet flat on the ground. The saddle should be adjusted so that your leg is slightly bent at the knee when the pedal is at its lowest point.
Reach
To determine the correct reach, sit on the bike with your hands on the handlebars. The reach should be long enough so that you can comfortably reach the handlebars without having to stretch too far. If the reach is too short, you will be hunched over the handlebars, which can lead to neck and back pain.
Handlebar Height
To determine the correct handlebar height, sit on the bike with your arms slightly bent at the elbows. The handlebar height should be adjusted so that your weight is evenly distributed across your hands and shoulders.
Measure Your Arm Length
Accurately measuring your arm length is crucial for determining the correct handlebar width. Follow these steps to ensure precise measurements:
Step 1: PostureStand upright with your shoulders relaxed and your back straight. Keep your arms at your sides, slightly bent at the elbows.
Step 2: Measuring PointIdentify the crease on your wrist where your hand meets your forearm. This is the measurement endpoint.
Wondering how much longer until 2:27? You can check how much longer until 2:27 here. If you’re more interested in learning how to roll coal in a 7.3, there’s a guide available here.
Step 3: Measuring TechniqueUse a measuring tape or ruler to measure from the top of your shoulder (acromion process) to the wrist crease. Keep the tape or ruler straight and parallel to your body.
I’m curious, how much longer until 2:27? I’m not sure how much time I have left to do this. Meanwhile, I’ve been reading up on how to roll coal in a 7.3. It’s actually quite interesting. I’ve learned that it’s all about getting the right fuel and timing.
If you’re interested, you can find more information on how to roll coal in a 7.3 online.
Step 4: Repeat for AccuracyRepeat the measurement on both arms to ensure accuracy. The measurements should be the same for both arms.
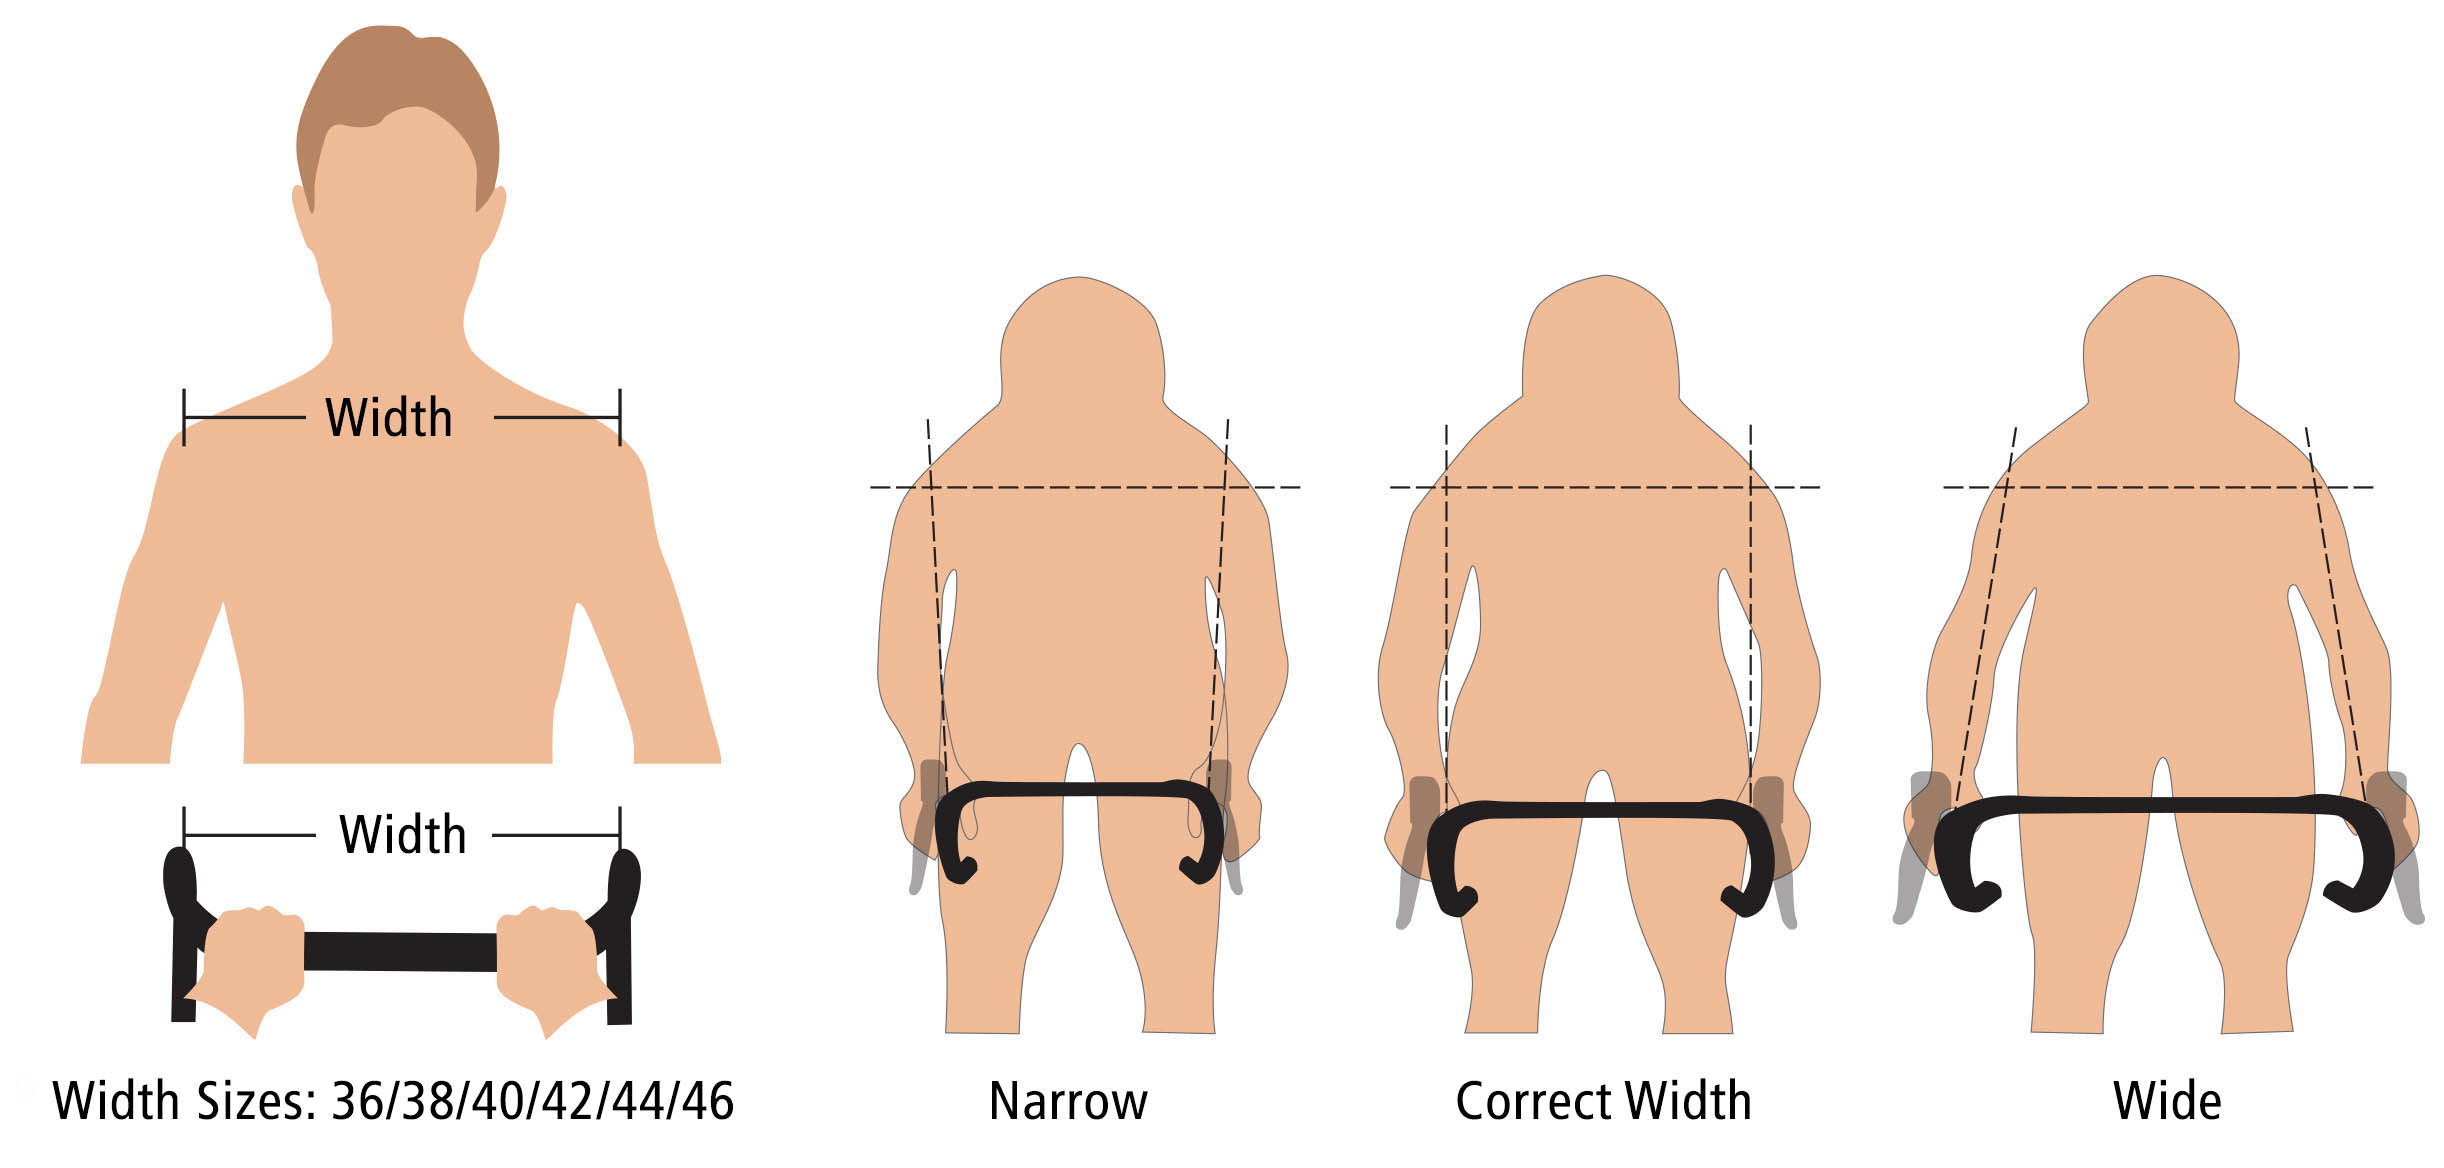
Consider Bar Width and Shape
Handlebar width and shape significantly impact the stability, control, and comfort of your ride. Choosing the right combination is crucial for an enjoyable and efficient cycling experience.
Bar Width
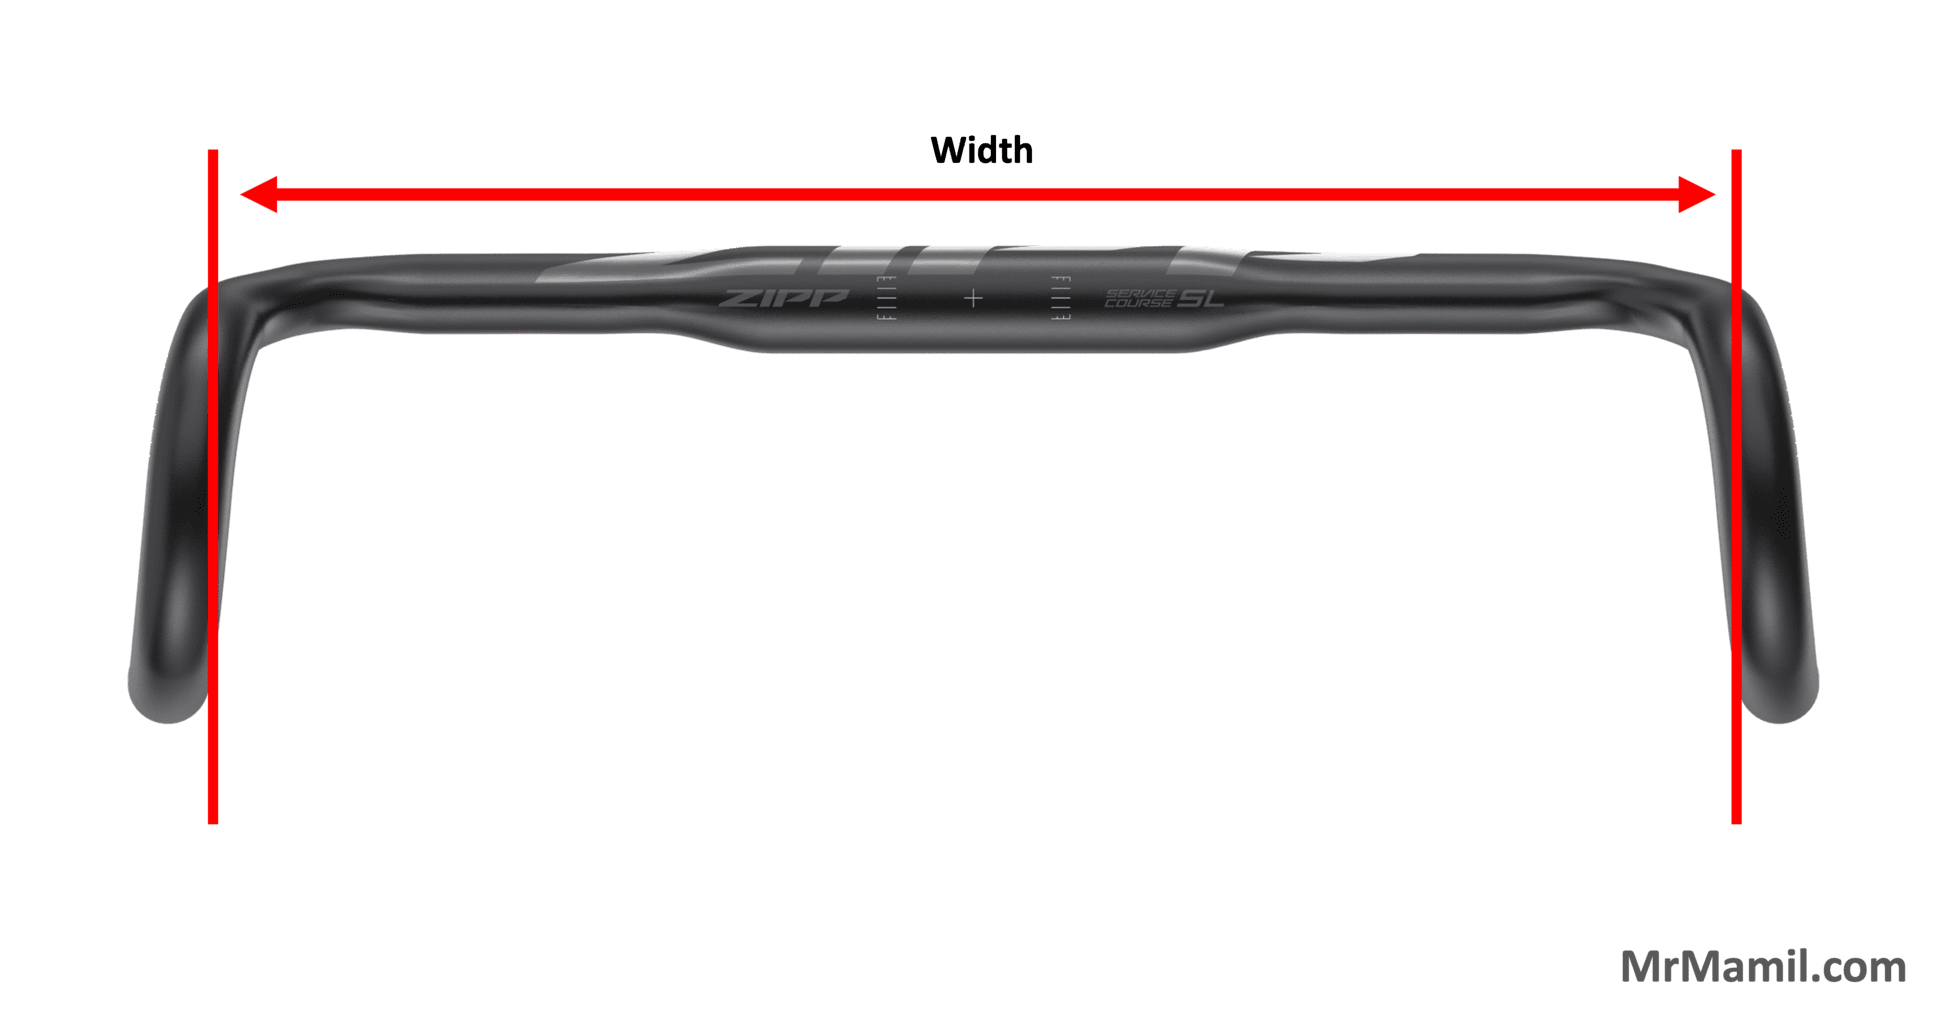
Handlebar width influences how your body is positioned on the bike. A wider handlebar provides more stability and leverage for steering, making it suitable for aggressive riding styles and off-road terrain. However, a narrower handlebar promotes a more aerodynamic and upright position, which is ideal for road racing and commuting.
Bar Shape
Handlebars come in various shapes, each designed for specific riding styles. Flat handlebars offer a comfortable and upright position, suitable for casual riding and commuting. Riser handlebars have an upward curve, providing a more aggressive and sporty posture, ideal for mountain biking and touring.
Drop handlebars feature a curved shape that allows for multiple hand positions, making them versatile for road racing, triathlon, and long-distance cycling.
Calculate Handlebar Reach
Determining the handlebar reach is crucial for finding the ideal riding position. Handlebar reach refers to the horizontal distance between the saddle and the handlebar. It influences how stretched out or upright your riding posture will be, affecting both comfort and performance.
To calculate the handlebar reach, follow this formula:
Handlebar Reach = Arm Length x Riding Position Factor
Riding Position Factor, How to measure for handlebars
The riding position factor varies depending on the type of bike and your preferred riding style. Here are some common factors:
- Road Bike:1.0 to 1.2
- Mountain Bike:1.2 to 1.4
- Hybrid Bike:1.1 to 1.3
- Cruiser Bike:1.4 to 1.6
For a more aggressive riding position, choose a higher factor, and for a more relaxed position, choose a lower factor.
Set Up Your Bike
Once you have determined the ideal handlebar reach and height, it’s time to install the handlebars on your bike. Here’s how to do it:
Installing the Handlebars
- Place the handlebars on the stem and align them with the center of the bike.
- Tighten the bolts that hold the handlebars to the stem.
- Check the handlebar height and reach to ensure they are at the correct position.
Using Spacers and Shims
Spacers and shims are small components that can be used to fine-tune the fit of your handlebars. Spacers are placed between the stem and the handlebars, while shims are placed between the handlebars and the stem.
By adding or removing spacers and shims, you can adjust the handlebar height and reach to achieve the perfect fit for your riding style and body dimensions.
Make Final Adjustments: How To Measure For Handlebars
Once you have a good idea of your ideal handlebar position, it’s time to make some final adjustments to ensure a comfortable and efficient ride.
The best way to do this is to ride your bike in different positions and pay attention to how your body feels. If you find yourself straining your neck or shoulders, or if your hands are going numb, it’s a sign that your handlebars are not in the correct position.
Fine-tuning Your Fit
- Make small adjustments to the handlebar height, reach, and angle until you find a position that feels comfortable and efficient.
- Pay attention to how your body feels on long rides, and make adjustments as needed.
- Don’t be afraid to experiment with different handlebar shapes and sizes until you find one that suits you best.
Tips for Specialized Riding

When measuring handlebars for specific riding styles, it’s crucial to consider the unique demands and postures associated with each discipline. Road racing, mountain biking, and time trialing all have distinct requirements that influence handlebar choice.
Road Racing
- Road racers prioritize aerodynamics and efficiency, requiring handlebars that allow for a low, stretched-out position.
- Handlebars with a narrow width and shallow drop provide optimal aerodynamics and reduce wind resistance.
- Consider handlebars with a shorter reach to maintain a comfortable and efficient riding position.
Mountain Biking
- Mountain bikers require handlebars that offer control, stability, and maneuverability on rough terrain.
- Handlebars with a wider width and a moderate rise provide increased stability and leverage for handling obstacles.
- Choose handlebars with a longer reach to accommodate a more upright riding position for better visibility and control.
Time Trialing
- Time trialists prioritize aerodynamics and minimizing drag, requiring handlebars that allow for an extremely low and aggressive position.
- Handlebars with a narrow width and a deep drop create a more streamlined profile, reducing wind resistance.
- Opt for handlebars with a longer reach to achieve the most aerodynamic position possible.
Handlebar Measurement Table

The handlebar measurement table provides suggested handlebar measurements based on arm length and riding position. It includes columns for road, mountain, and time trial handlebars.
The table can be used as a starting point for determining the correct handlebar width and reach for your bike. However, it’s important to note that these are just suggestions, and you may need to adjust the measurements based on your personal preferences and riding style.
Handlebar Measurement Table
| Arm Length | Riding Position | Road Handlebar (cm) | Mountain Handlebar (cm) | Time Trial Handlebar (cm) |
|---|---|---|---|---|
| 56-58 cm | Upright | 40-42 | 680-700 | 38-40 |
| 58-60 cm | Moderate | 42-44 | 700-720 | 40-42 |
| 60-62 cm | Aggressive | 44-46 | 720-740 | 42-44 |
When using the table, it’s important to measure your arm length correctly. To do this, stand up straight with your arms extended out to the sides at shoulder height. Bend your elbows at a 90-degree angle, and measure the distance from the center of your shoulder joint to the tip of your middle finger.
Once you have your arm length, you can use the table to find the suggested handlebar width and reach for your bike. However, as mentioned earlier, these are just suggestions, and you may need to adjust the measurements based on your personal preferences and riding style.
Additional Considerations

Besides the factors discussed earlier, other considerations can influence handlebar measurement. These include:
- Flexibility:Riders with greater flexibility can reach further forward, allowing for a shorter reach. Conversely, less flexible riders may require a longer reach.
- Injury:Past or present injuries can affect handlebar position. For example, a shoulder injury may necessitate a wider handlebar to reduce stress on the joint.
- Personal preferences:Ultimately, handlebar measurement is subjective and depends on the rider’s personal preferences. Some riders prefer a more aggressive, stretched-out position, while others prefer a more upright, comfortable stance.
Consultation with a Professional
Given the complex interplay of factors that affect handlebar measurement, consulting with a bike fitter or professional is highly recommended. They can assess your individual needs, including flexibility, body geometry, and riding style, to determine the optimal handlebar position for you.
Concluding Remarks
By following these steps and considering the additional factors discussed, you can accurately measure for handlebars that will enhance your cycling experience. Remember to make final adjustments and test your fit to ensure maximum comfort and performance. With the right handlebars, you’ll be able to ride longer, stronger, and more enjoyably.
Common Queries
How do I measure my arm length?
Stand with your arms extended at your sides and measure from the center of your shoulder joint to the crease of your wrist.
What is handlebar reach?
Handlebar reach is the horizontal distance from the center of the saddle to the center of the handlebars.
How do I choose the right handlebar width?
Handlebar width should be proportional to your shoulder width and riding style. Wider handlebars provide more stability and control, while narrower handlebars are more aerodynamic.
