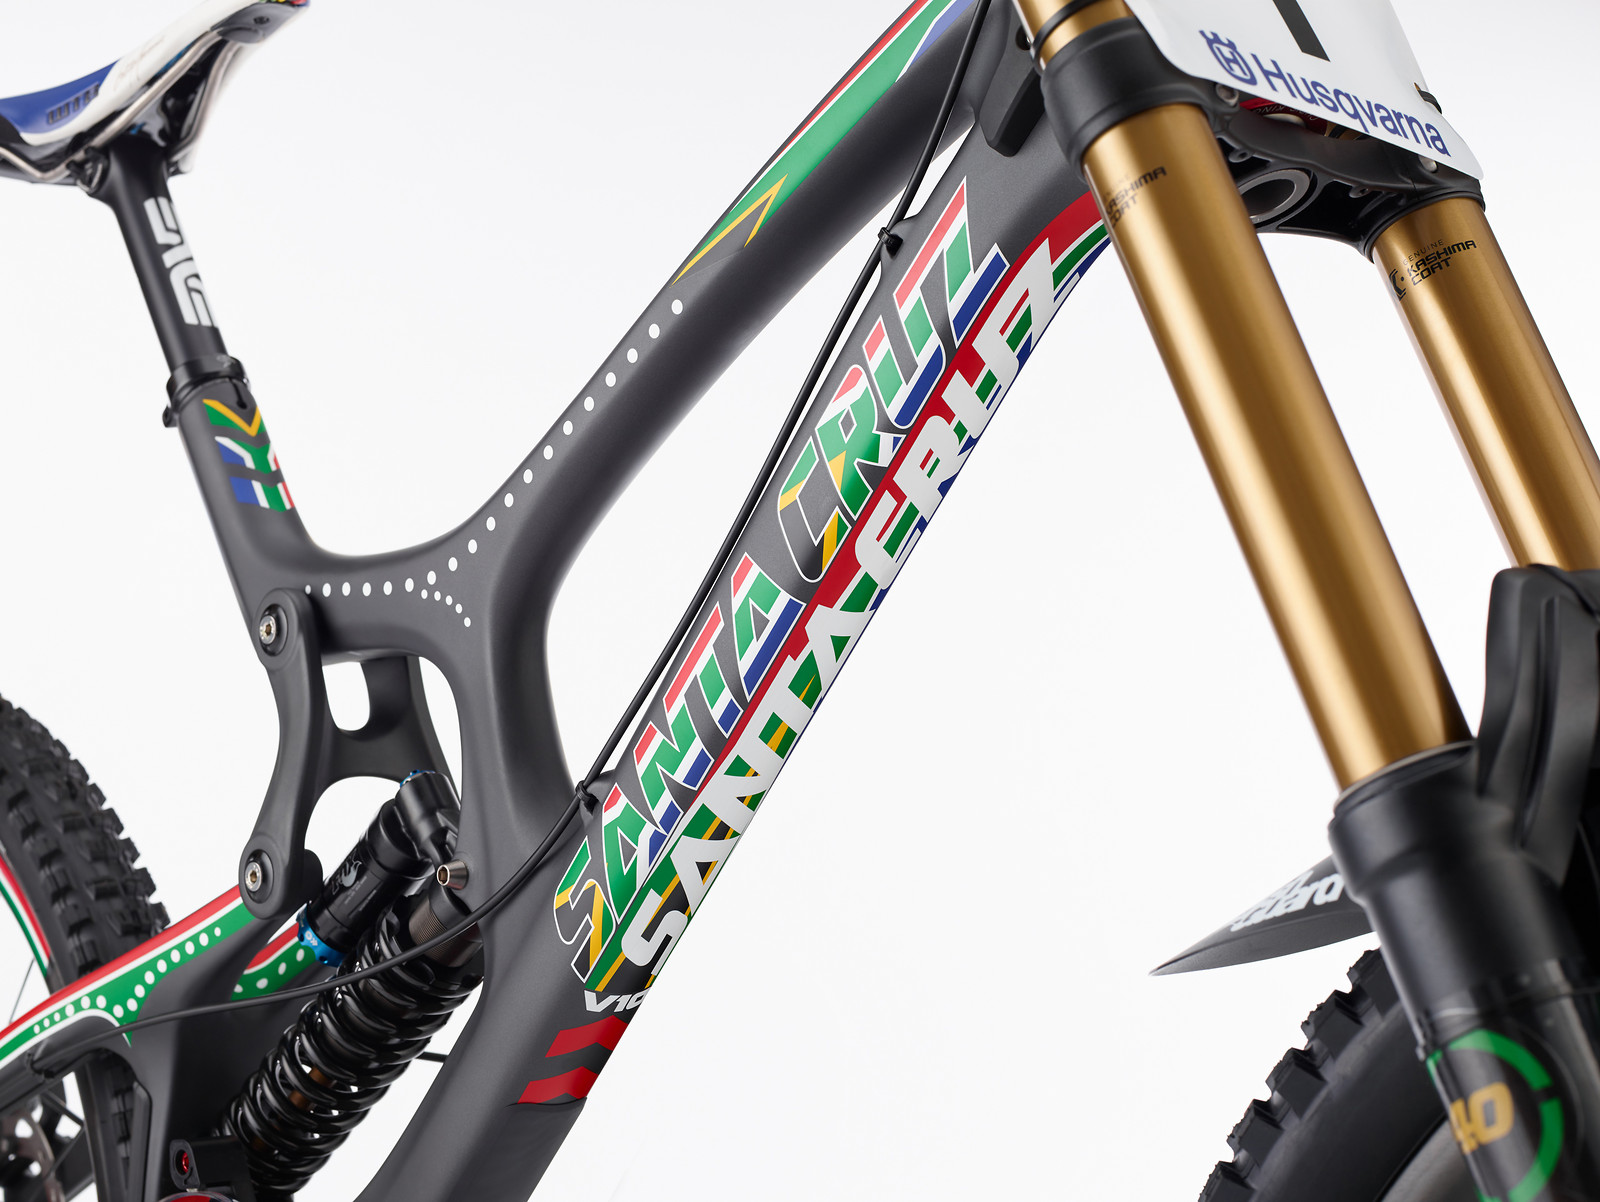
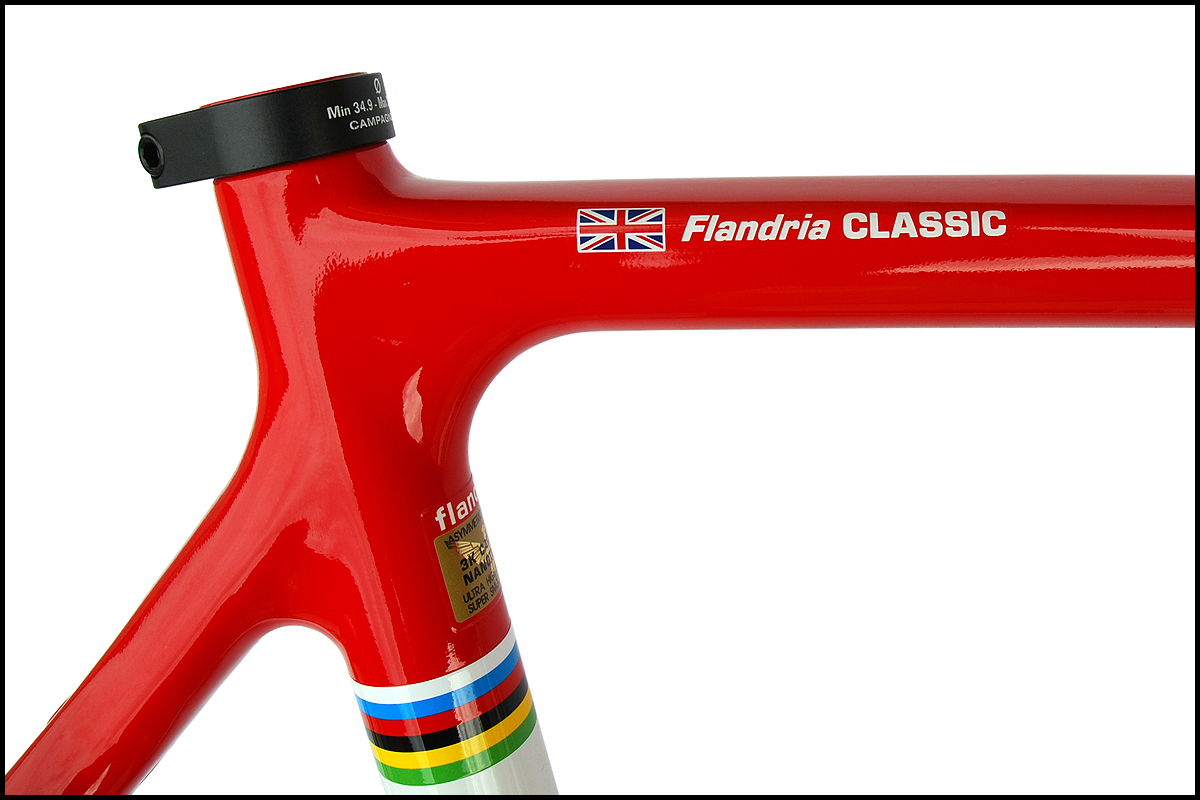
Unleash your creativity with bike frame decals, the perfect way to transform your ride into a rolling masterpiece. From sleek vinyl to vibrant water slides, these decals offer endless possibilities to match your style and enhance your bike’s aesthetics.
Dive into the world of bike frame decals and discover the secrets of choosing the right design, applying them like a pro, and even customizing them with online tools. Get ready to elevate your bike to the next level with these eye-catching and durable decals.
Bike Frame Decals
Bike frame decals play a crucial role in enhancing the aesthetics and individuality of bicycles. They come in a wide range of types and materials, each with its own unique properties and characteristics. Understanding the different options available can help you choose the decals that best suit your needs and preferences.
Types of Bike Frame Decals
There are three main types of bike frame decals:
- Vinyl Decals:Vinyl decals are made from a durable and flexible plastic material. They are easy to apply and can conform to complex curves and shapes on the bike frame. Vinyl decals come in a variety of colors and finishes, including matte, glossy, and metallic.
- Water Slide Decals:Water slide decals are made from a thin film of paper or plastic that is coated with a water-activated adhesive. They are soaked in water before being applied to the bike frame. Water slide decals are often used for complex designs or graphics that require precise placement.
- Metallic Decals:Metallic decals are made from a thin sheet of metal, usually aluminum or stainless steel. They are often used to create a more premium and sophisticated look on the bike frame. Metallic decals are durable and resistant to fading, but they can be more difficult to apply than vinyl or water slide decals.
Design Considerations for Bike Frame Decals
Customizing your bike frame with decals is a great way to express your personal style and make your ride unique. When choosing a design for your decals, there are a few things to keep in mind:
First, consider the type of bike you have. Road bikes typically have a more sleek and minimalist design, while mountain bikes can handle more aggressive and colorful graphics. You’ll also want to think about your personal style. If you prefer a classic look, you might opt for simple decals with your name or a team logo.
If you’re more adventurous, you might choose a design with bright colors and bold patterns.
Design Trends
There are a few design trends to keep in mind when creating custom bike frame decals. One popular trend is to use reflective decals, which can help you stay visible at night. Another trend is to use decals that match the color of your bike frame.
This can create a sleek and sophisticated look.
Custom Decals, Bike frame decals
If you’re looking for a truly unique look, you can create your own custom decals. There are a number of online companies that can help you design and print your own decals. You can also find pre-made decals in a variety of designs and colors.
Application Techniques for Bike Frame Decals
Applying bike frame decals requires precision and attention to detail to achieve a professional-looking finish. Follow these steps to ensure proper adhesion and longevity.
Before starting, clean the frame thoroughly with a degreaser or rubbing alcohol to remove dirt, oil, and any contaminants. This will help the decals adhere properly.
Surface Preparation
Use a soft, lint-free cloth to apply the degreaser or rubbing alcohol. Allow the surface to dry completely before applying the decals.
Decal Placement
Position the decal on the frame using a ruler or measuring tape for precise alignment. Once you are satisfied with the placement, carefully peel away the backing paper.
Hold the decal in place with one hand while smoothing it out with a squeegee or credit card with the other. Apply even pressure to ensure the decal adheres completely to the frame.
Finishing Touches
After applying the decal, use a heat gun or hairdryer on a low setting to heat the decal and activate the adhesive. This will help to further secure the decal and prevent peeling.
Allow the decal to cool completely before riding your bike. This will give the adhesive time to set and ensure a long-lasting bond.
Removal and Replacement of Bike Frame Decals
Bike frame decals can deteriorate over time, requiring removal and replacement. Removing decals safely without damaging the paint or finish is essential.
To remove old decals, use a heat gun or hairdryer to soften the adhesive. Gently lift the decal using a plastic scraper or credit card. Avoid using sharp objects that could scratch the paint.
Replacing decals requires matching the original design and ensuring a seamless transition. Measure the dimensions of the old decal and order a replacement that matches the size and shape.
Matching the Original Design
Replicating the original design is crucial for maintaining the bike’s aesthetics. Choose a replacement decal that matches the color, font, and graphics of the old one.
Ensuring a Seamless Transition
To ensure a seamless transition, clean the surface of the frame where the new decal will be applied. Use a degreaser to remove any oils or dirt that could interfere with adhesion.
Customizing Bike Frame Decals with Online Tools

In the digital age, customizing bike frame decals has become more accessible than ever thanks to a plethora of online tools and platforms. These tools empower cyclists to unleash their creativity and design unique decals that reflect their personal style and preferences.
Design Templates and Color Options
Many online tools provide a library of pre-designed templates to jumpstart the design process. These templates cover a wide range of styles, from classic to contemporary, ensuring that every cyclist can find a base that aligns with their aesthetic. Additionally, users have the freedom to modify these templates, adjusting colors, fonts, and graphics to create a truly personalized design.
Preview Functionality
A key feature of these online tools is their preview functionality. This allows users to visualize their designs on a virtual bike frame, ensuring that they are satisfied with the final product before placing an order. The preview function provides a realistic representation of how the decals will look on the bike, eliminating any surprises when they arrive.
Last Point

Whether you’re a seasoned cyclist or a weekend warrior, bike frame decals empower you to personalize your ride and make a statement. With careful consideration and a touch of creativity, you can create a bike that truly reflects your unique style and spirit.
So, embrace the art of bike frame decals and let your bike become a canvas for your imagination.
Expert Answers
Can bike frame decals be removed without damaging the paint?
Yes, most bike frame decals can be removed safely using a heat gun or hair dryer to soften the adhesive and a plastic scraper to gently lift the decal. However, always test a small area first to ensure no damage occurs.
How long do bike frame decals last?
The lifespan of bike frame decals varies depending on the material and application. Vinyl decals typically last 2-5 years, while water slide decals may last 1-3 years. Proper care and maintenance can extend their longevity.
Can I design my own bike frame decals?
Yes, many online tools allow you to design and order custom bike frame decals. These tools provide templates, color options, and preview functionality to help you create the perfect design.
